Three years age I wrote a “How to Marble Paper” page. Since then I have had lots of questions and and I have changed several of my methods. I am currently updating the page. Here’s the first part. You can see the whole thing HERE.
Update to How to Marble
The most frequent questions I am asked are about the basic physical components of marbling – alum, carrageenan, paint and paper. I haven’t changed the first two at all. Marbling carrageenan (not the food variety) mixed at 2.5 Tablespoons per Gallon of water (I use distilled, bottled) and marbling alum (again, not the food kind) mixed at 1 to 2 teaspoons per cup of water. I mix my alum a bit stronger than some recommendations just because I find it works better for me. The carrageenan is mixed in a high-speed blender and allowed to sit overnight. I usually mix the alum at the same time just because it’s one less step to do in the morning! The alum just needs to be stirred a bit to dissolve.
Paint
Paints can be tricky and you need to be willing to play a bit to find the brand and type that suits you purposes best. I have been converted to Golden’s Fluid Arcylics. I think they are easier to balance, have great pigment integration and provide intense colors. However, like all paint, they can be highly individual in the way you mix them. I start my paints with 1 part paint to about 1/2 part water and add water gradually to find the right balance. Colors vary a lot – blues & greens need more water, reds and yellows need less. Unlike the paints I used to use, even the toughest of the Golden colors needs only 20 to 30 stirs to create a good suspension and most need way less. I took a class where the paints had been pre-mixed and even though they were the same base paint that I use all the time, the water ratios were very different and it took a few papers for me to adjust my style to the paint. The moral is play, test, try and play some more until you find what suits you and how you plan to use your paper.
-
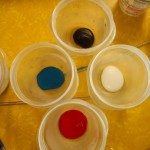
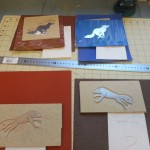
- Acrylic paint
-
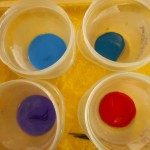
- Left side has water, right side just paint
-
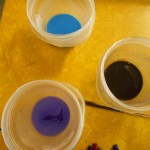
- Water added, not mixed
-

- Mixed paint & water
-
- Paints ready to use
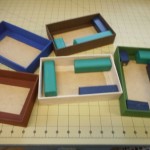
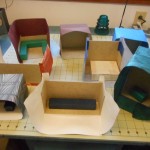
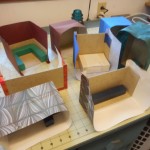
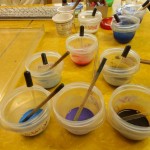
I use a piece of dowel to mix the paint. It’s tempting to just use the eyedropper, but not wise. I used to use plastic spoons, but find that the dowel provides a better surface for reintegrating pigment that has fallen out of suspension. Some paints, especially yellows and reds, rarely fall, but blues and ultramarines have to be stirred frequently. Metallics need stirring before almost every drop and the dowel provides a pestle-like action that works well. I much prefer using cups to leaving the paint in the bottles. Bottles will develop a thick sludge of pigment on the bottom, but with the cups you can see and control the sludge formation. I’ve used both snap lid and twist on cups and prefer the twist closure. It gives a tighter seal and avoids the splash episodes when I try to open a stuck snap-on lid! You do have to take care that the twist is fully sealed if you are leaving the paint for any period of time.
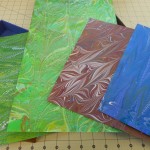
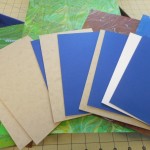
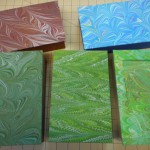
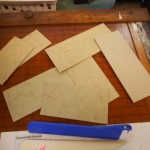
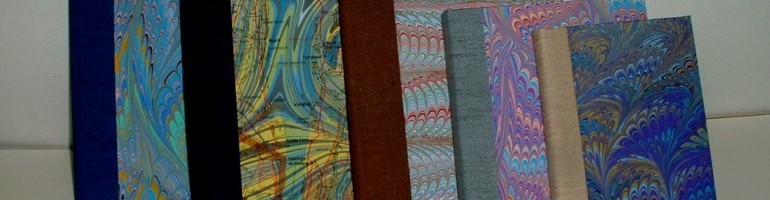
Paper
What paper you use depends entirely on what you plan to do with your marbled paper. Always keep end use in mind. Most of my paper ends up in my books; that’s why I started marbling in the first place. Therefore, I use a lot of drawing weight paper (70-80lbs, 100 – 130gsm). I also use a lot of card stock (65lb., 167 gsm.) for cards and for some book uses, but it is too heavy for endpapers. I have some beautifully marbled sheets of very heavy weight paper and even watercolor paper (400 lb.) that I love, but have yet to figure out what to do with them. Many marblers love Texoprint paper, but I am not a fan, partially because I don’t like the way it pastes down. I have tried marbling everything from paper napkins to mat board. So try, experiment, play! If you are just beginning, I suggest either a 70lb. drawing paper or card stock as they are both easy to handle and have many uses.
Fun sources of marbling paper are everywhere – discarded books, maps, old magazines, sheet music, junk mail, community flyers. Just look around. Slick and glossy papers are harder to marble since both the alum and paint tend to slide off, but you can have fun trying!
…. Continued on THIS PAGE
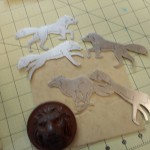
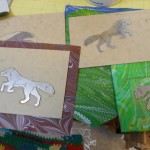
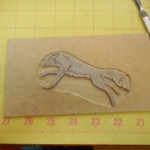
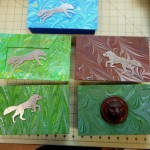
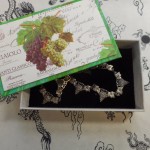
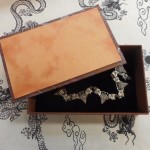
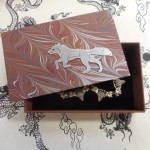
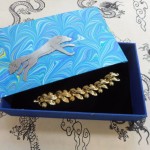
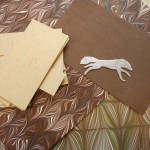
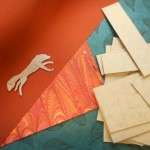
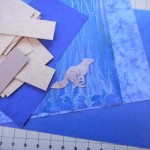
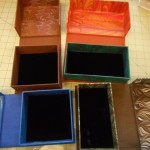
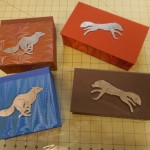
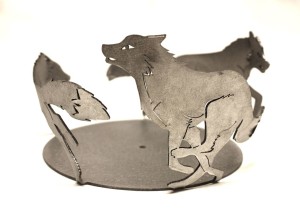 I asked Sam what he was going to do with the unusable rings and he wasn’t sure. Three days later I suddenly realized that the foxes were just the right size for some of my boxes and books, so I asked Sam if he were willing to snip some off and let me play with them. He did and this is the rest of the story.