This is a continuation of the challenge that started in this post.
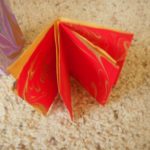
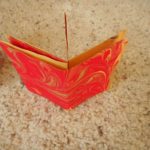
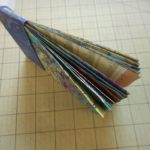
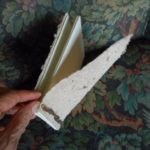
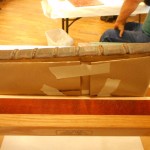
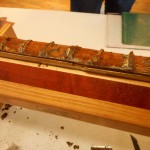
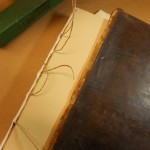
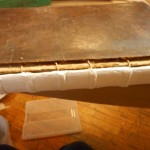
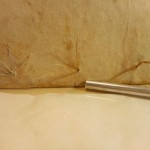
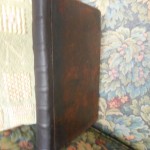
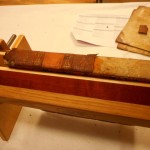
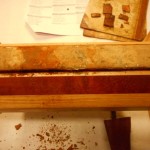
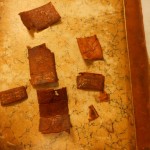
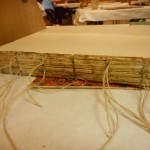
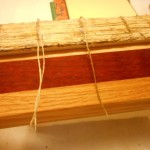
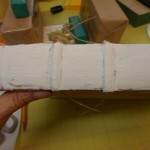
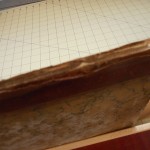
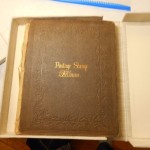
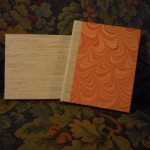
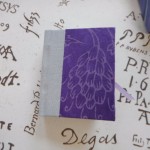
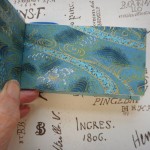
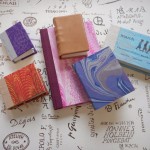
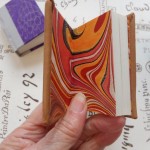
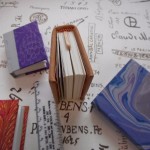
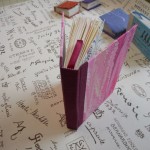
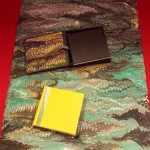
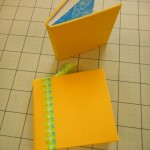
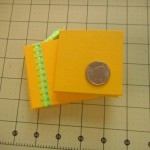
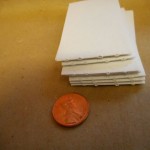
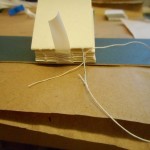
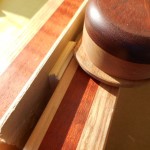
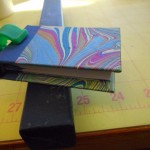
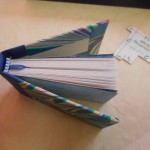
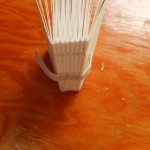
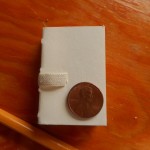
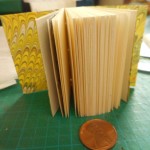
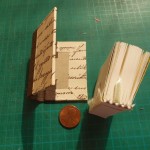
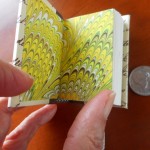
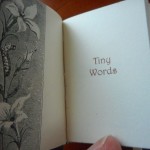
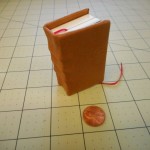
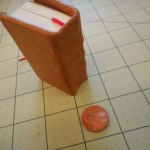
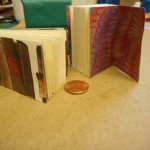
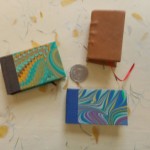
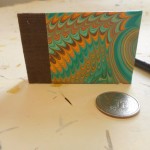
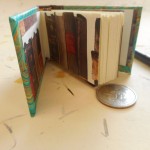
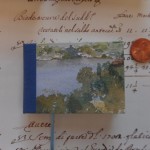
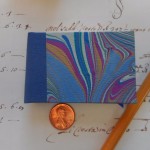
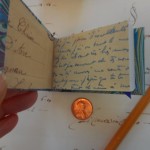
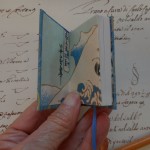
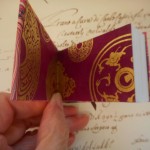
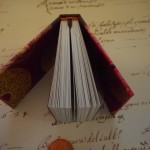
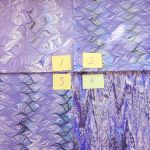
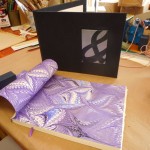
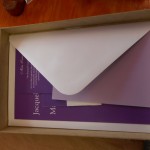
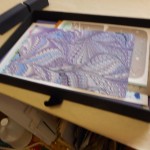
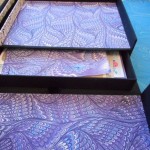
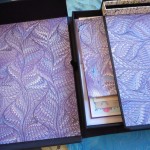
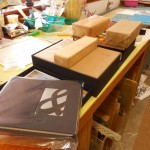
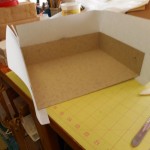
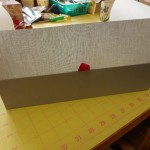
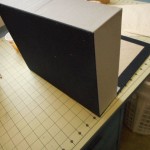
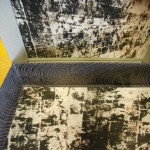
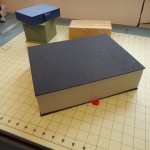
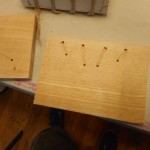
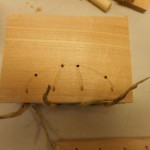
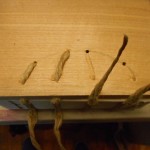
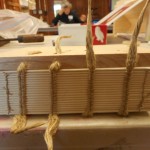
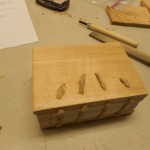
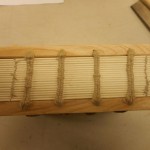
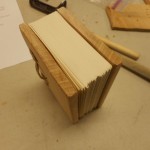
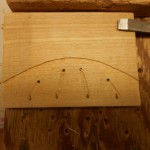
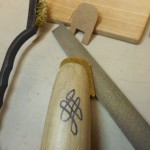
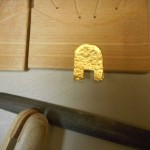
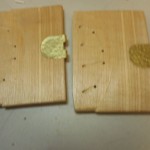
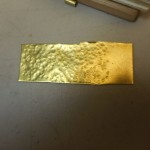
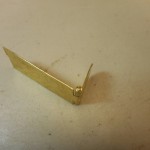
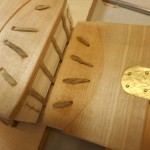
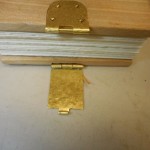
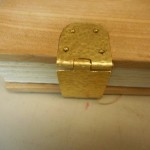
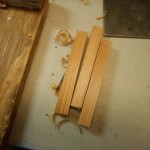
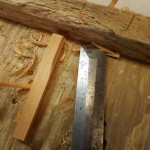
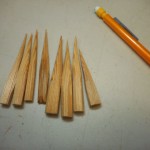
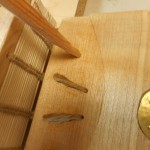
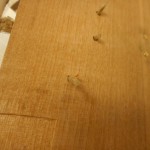
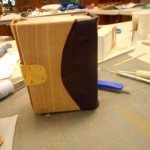
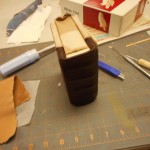
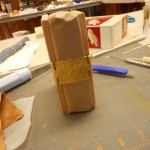
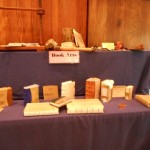
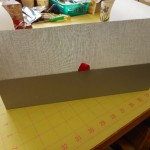
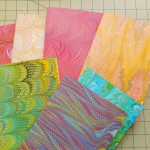
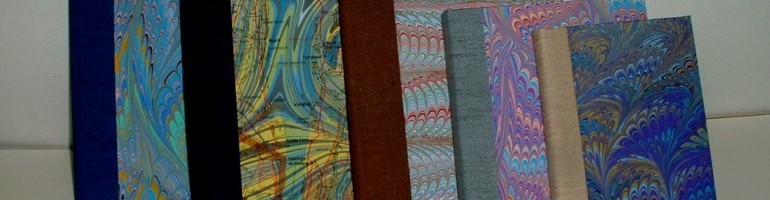
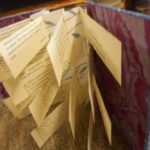
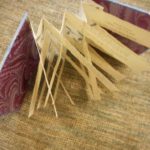
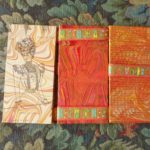
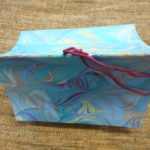
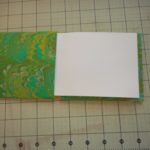
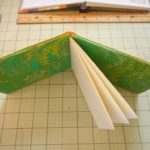
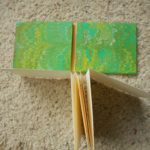
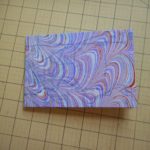
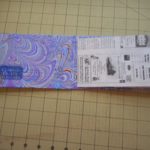
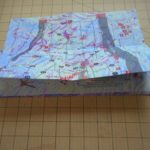
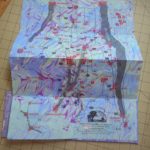
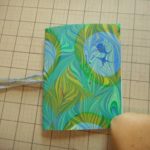
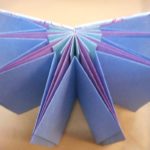
Day 11. Piano Hinge with Skewers
-
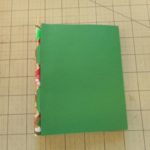
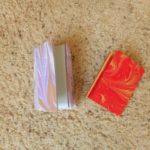
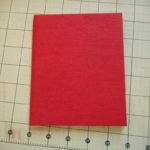
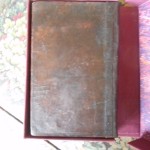
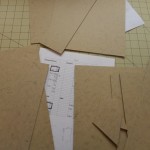
- Cover
-
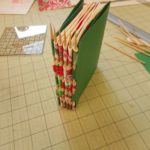
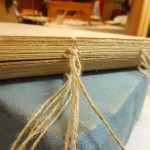
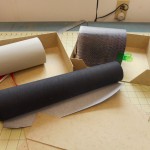
- Spine
-
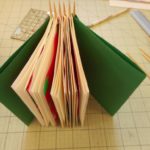
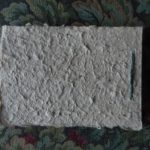
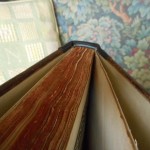
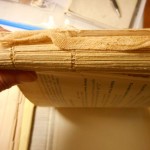
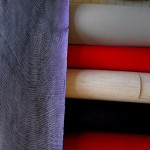
- Textblock
-
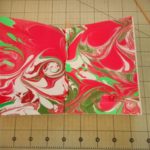
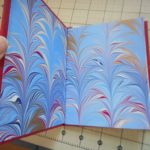
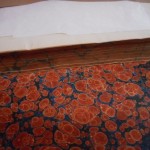
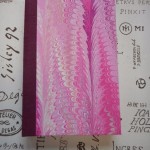
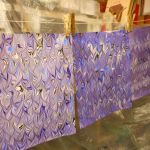
- Inside Marbled pages
-
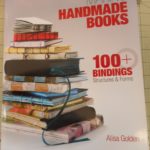
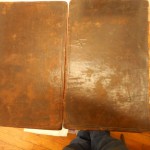
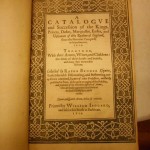
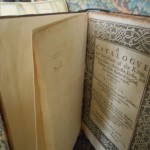
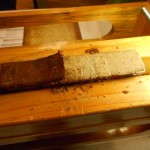
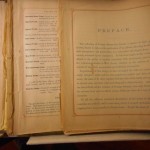
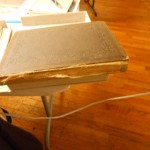
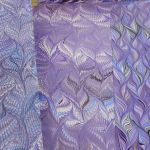
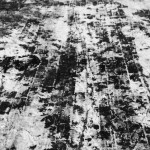
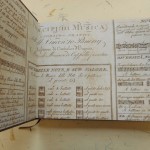
- Source Book
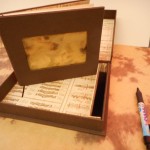
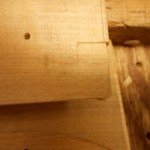
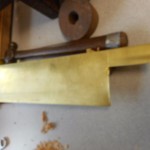
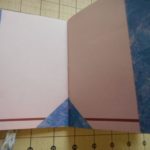
This was a fun book to make. I’m not sure about leaving the points on the skewers. I like the look, but they are sharp! I wrapped every section with my marbled paper, which means that you have two facing marbled pages on the interior between the sections. It also means that the back of the marbled paper is visible. I used 70 lb. (104gsm) drawing paper for the pages which makes the spine rather chunky. I think even a lighter weight paper might be better. One problem, which isn’t really visible in the photos, is that the skewers make the spine very wide so the shoulders are way out of proportion.
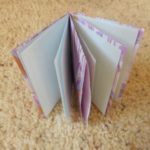
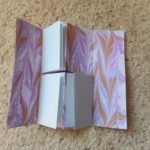
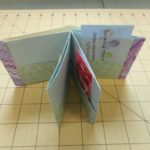
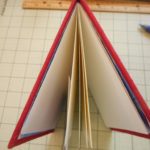
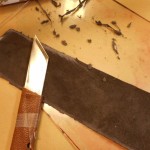
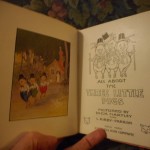
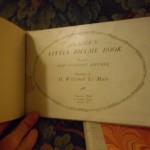
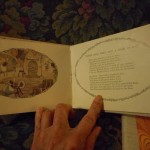
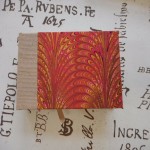
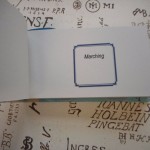
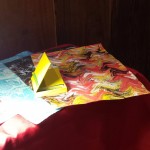
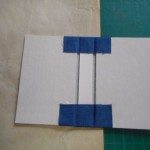
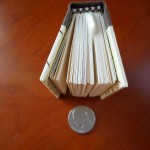
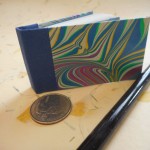
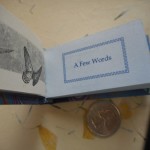
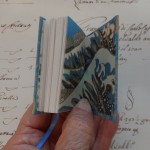
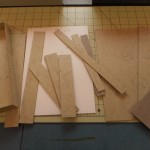
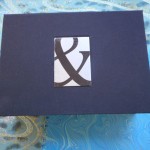
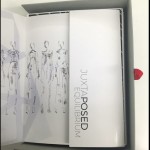
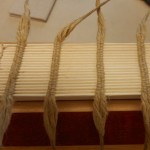
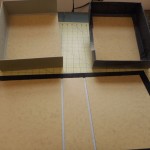
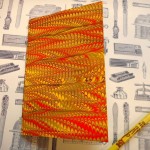
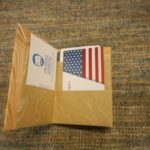
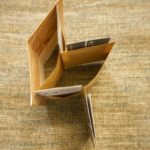
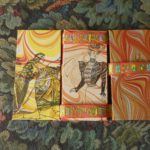
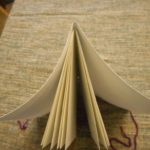
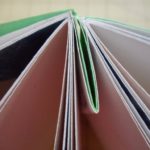
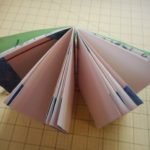
Day 12. Flag Book
-
- Hard cover
-
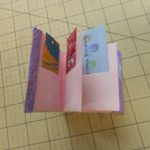
- Flags and spine
-

- Flags
-
- Text
-
- Open book
-
- Source book
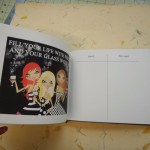
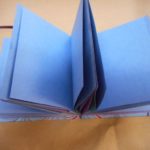
I’ve been intrigued by this structure for a long time, but have never gotten around to making one, partly due to a lack of ideas about content. The text or flags in this book are cut from random pages I had printed when I was playing with adding text to my books. The spine is folded decorative paper and is quite weak. If I ever make another one of these, I would use a stiffer paper or card stock for the spine. I think thinner flags are more interesting. These are a little too wide. Like many of these books, the final structure is a bit wedge shaped due to extra material at the spine edge. The shape makes shelving a problem. The more I play with these different structures, the more I appreciate the advantages of the traditional codex book.
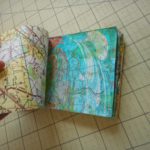
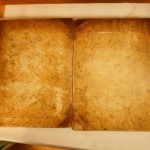
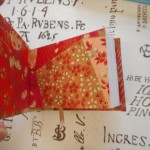
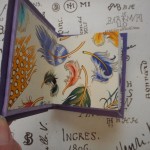
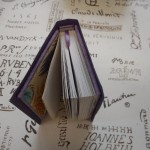
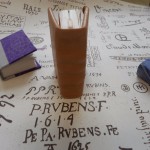
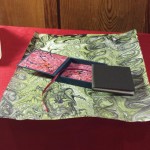
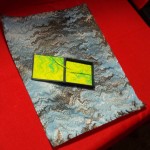
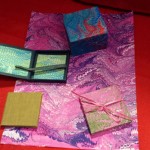
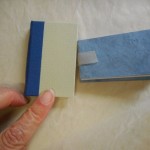
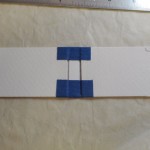
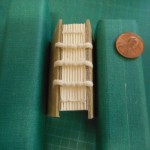
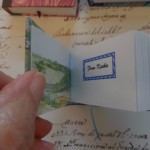
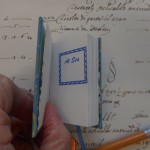
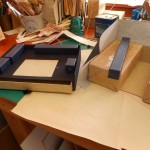
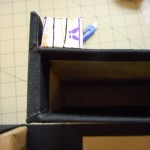
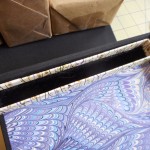
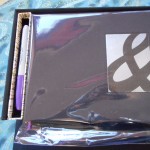
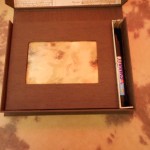
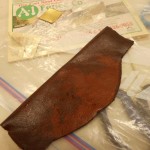
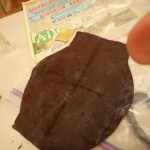
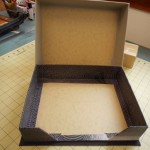
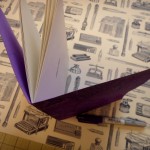
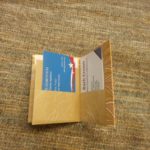
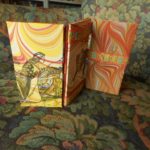
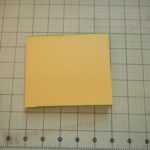
Day 13. Pocket X-Book revisited
-
- Cover
-
- Pockets for business cards
-
- Top view
-
- Pockets
-
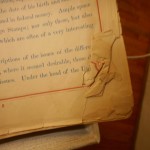
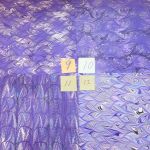
- Source Book
This is the same structure that I made on Day 2, just resized to hold business cards. This time I used a double-sided paper for the pockets so there isn’t a disconnect between the pocket and background. Filled with cards, it is much wider at the fore edge and needs some width in the spine to compensate and provide a flat profile. I really like this format and think I may have another go at it using boards and a spine, but keeping the X-fold for the pockets.
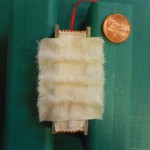
Day 14. Jacob’s Ladder variation
-
- Front or Back
-

- Standing
-
- One side
-
- Other side
-
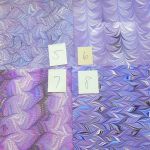
- Source Book
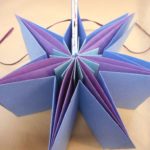
This is a modification of the Jacob’s Ladder toy/book that I made several years ago. It is larger and has only three panels, but it still flips and flops like the original. This structure demands content and I can imagine some quite clever uses of the six panels which seem to interact, but never do. In spite of all their flips and flops, the two Victorian ladies never meet.
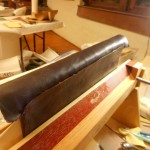
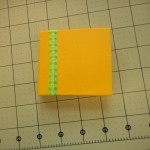
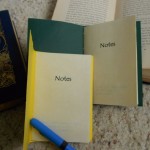
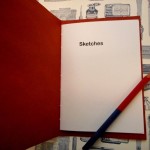
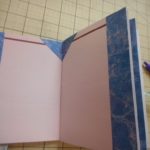
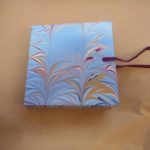
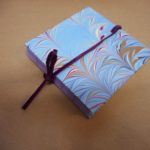
Day 15. Variation of my Jotter/Sketch book
-
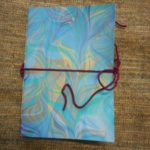
- Front, closed
-
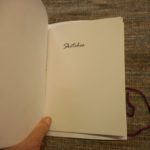
- Title page
-
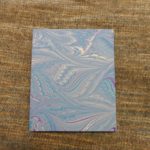
- Warped covers
-
- Tie over sewing
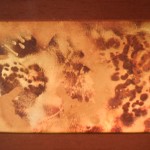
This is a slight variation of my jotters and sketch books. This isn’t an experiment with structure, but with material. I have many odds and ends of very heavy paper that I have marbled, but have never found an appropriate structure. It tends to crack if creased, but I was hoping I could use it in a structure that can use a gentle fold. It didn’t crack along the spine, but another problem appeared immediately – the covers wouldn’t lay flat. I tried damp ironing and leaving it in a press for 48 hours, but they still spring. As a last ditch effort I will try to hydrate the paper thoroughly and then press it again. I hope it works.
Thoughts on the Challenge so far.
It’s been fun and I’ve learned some new ways of handling paper, but it has also reinforced my desire to get back to “real” books. Making these 15 books has taken me 23 days just because ‘Life’ and I don’t think it’s realistic to think I can continue that pace as I move into more complex structures. I have no desire to make 15 more simple ones, but I would like to work on what I would call intermediate types – stab stitch, Coptic, long stitch, etc. but all of these structures require extensive prep work, cutting paper and boards as well as design time. Books 16 – 30 (if I do that many) may become two days per book or three books a week or some other measurement. We’ll see what happens after my vacation. I should be back at this around the end of October.


 I’d been disappointed in most of these books as they focused on the flippy-floppy, origami type books or very simple structures that are primarily a vehicle for artist content. I’m just not a content person. I’m much more interested in the structure. It suddenly clicked and I realized that these were just the types of structures that were perfect for the challenge and thus began my odyssey into 30 in 30. I’m not being completely literal on this. I’ve had to take a few days off for things like repairing the pump in the well and tearing out my garden. I’ve also found that some of these books take more than one day to complete. I have decided that those books can count as two days, because while a half-finished painting can still inspire, a half-finished book is just a pile of folded paper and odds and ends of card stock.