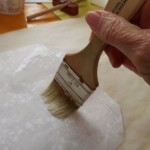
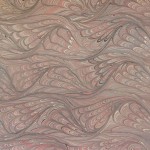
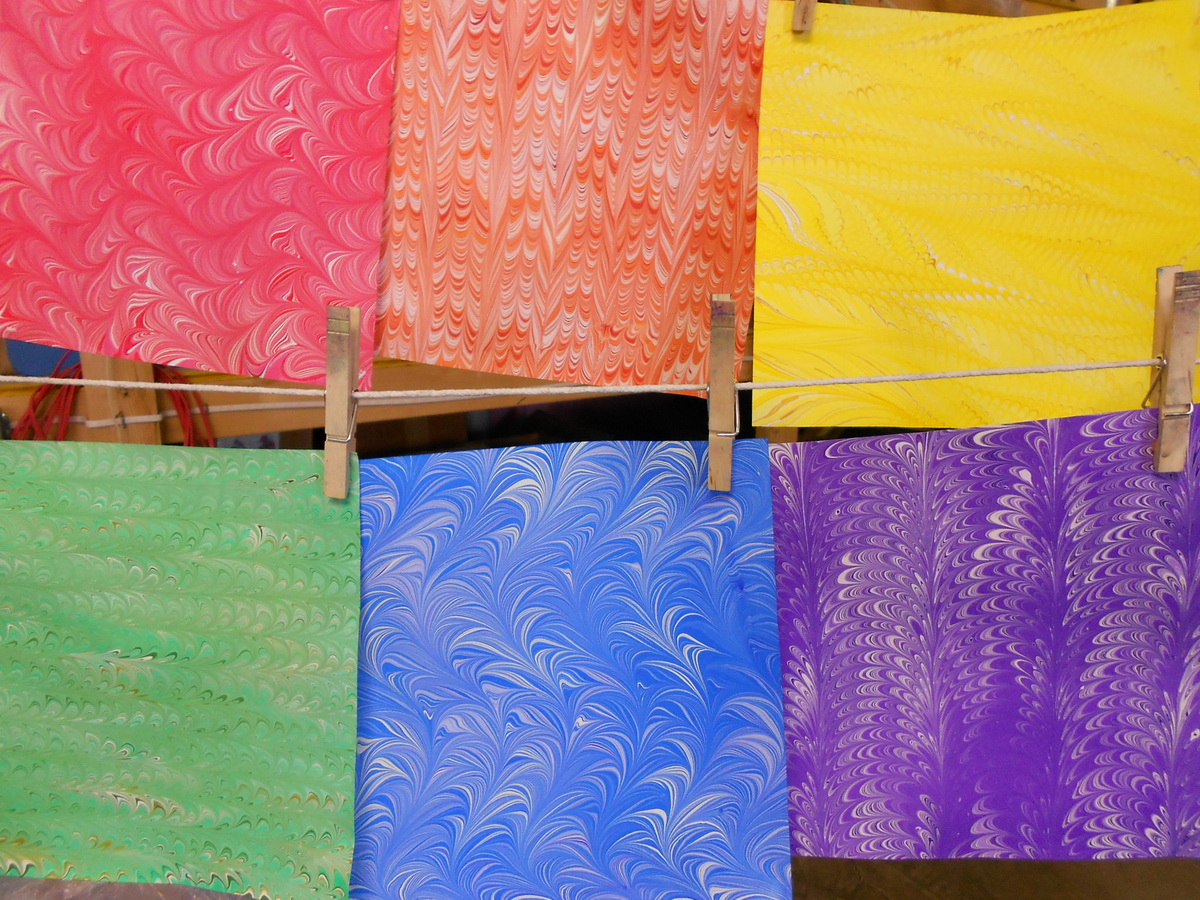
I haven’t done any marbling in a long time, not since last October and I was getting the itch. I’m teaching a workshop in marbling later this month (April 22nd) and thought I’d better do some to make sure everything is working. There has also been a history of lots of mess-ups after a dry spell. Fortunately, that wasn’t the case this time. In fact, I really got into the groove and pulled a lot of great pieces.
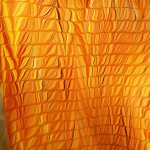
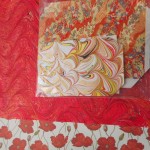
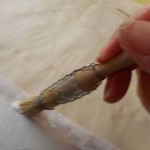
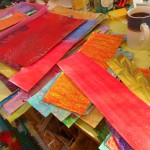
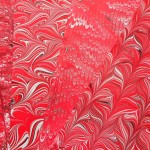
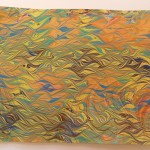
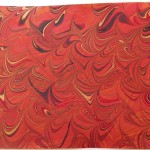
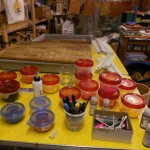
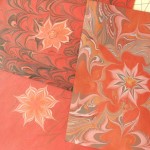
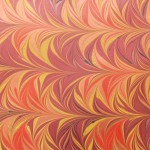
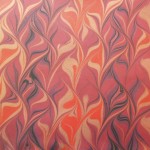
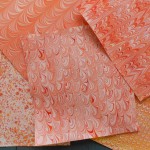
Before starting, I was thinking of spring, spring colors, soft pastels, greens, yellows and in general all those lovely Easter egg colors. Didn’t work out that way. In the morning as I started preparing the paint, I first pulled out some yellows, but then I grabbed a red. One of the few colors I’ve had success in mixing is orange, so I made a couple of oranges from the reds and yellows. I added the standards – black, white, brown, copper – to the array of paints and decided I had enough colors to start. Maybe I’d add the makings of pastels later. After seeing the first sheet of paper come alive with vibrant reds, yellows and oranges, I couldn’t stop. I just kept throwing the same six or seven colors over and over again in a wide range of combinations and patterns.
-
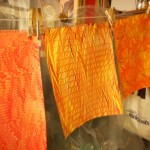
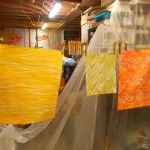
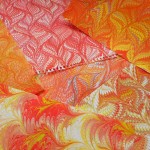
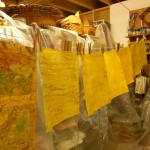
- Drying line
-
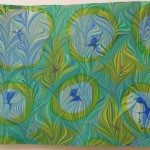
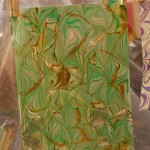
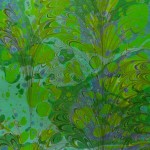
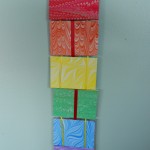
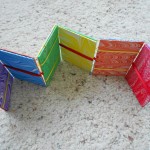
- Love this one
-
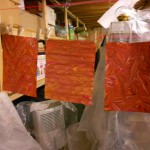
- More on the line
-
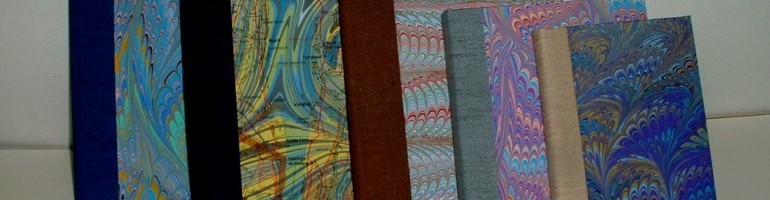
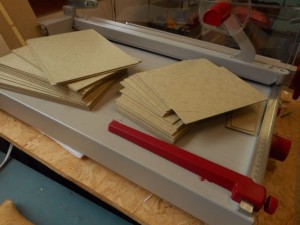
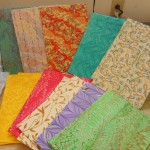
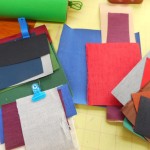
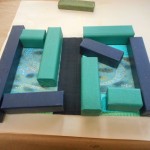
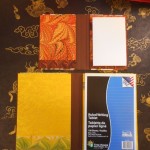
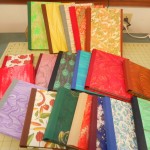
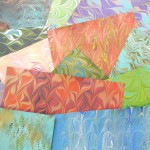
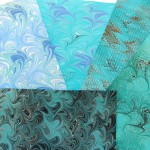
- Pile of marbled papers
-
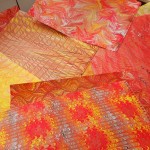
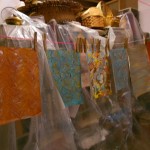
- More marbled papers
-
- Even more marbled papers
-
- More marbled papers
-
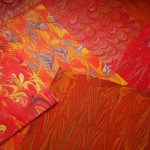
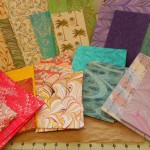
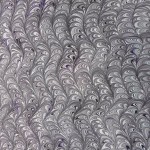
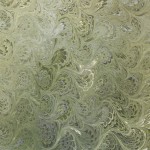
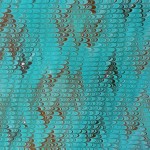
- Small “scales”
-

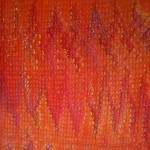
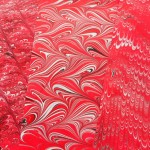
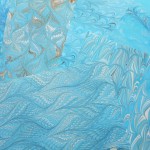
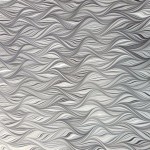
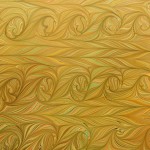
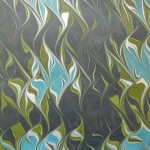
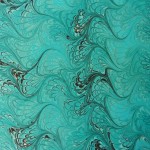
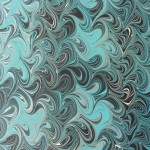
- Large flames
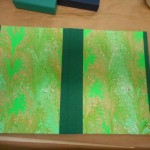
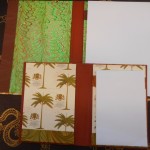
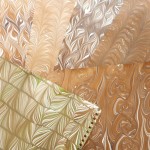
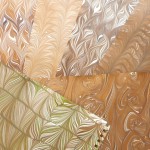
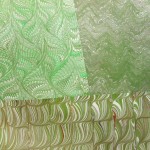
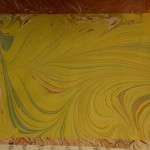
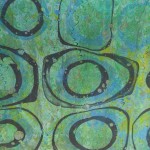
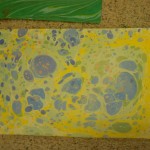
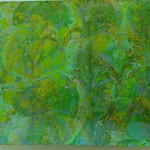
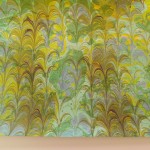
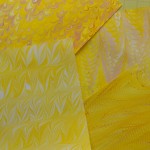
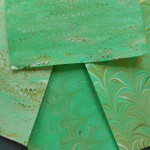
On the second day, I added some greens to the paint choices but I still did a lot with the reds, oranges and yellows. I did one of my minimalist marblings with Nickel Azo Yellow, Zinc White and Van Dyke Brown. The white and brown were only dropped once, but the yellow was dropped numerous times. That’s the second paper in the first photo.
-
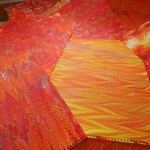
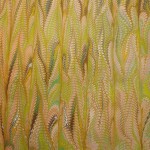
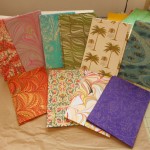
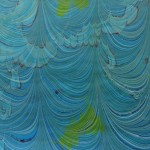
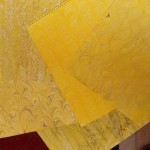
- Yellows are fun
-
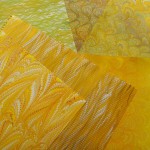
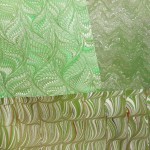
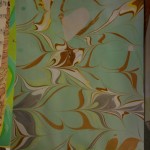
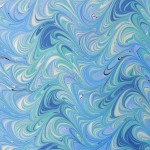
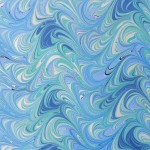
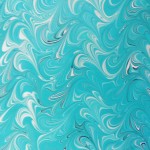
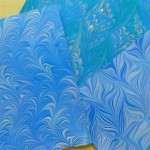
- The calmer colors of the palette
-
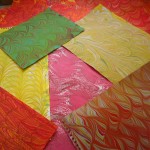
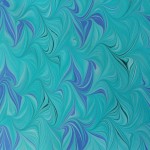
- A little more diversity
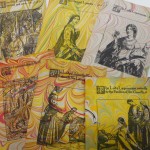
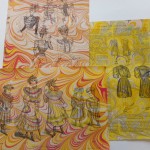
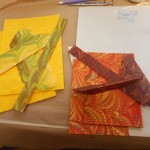
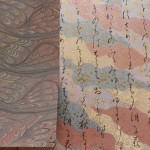
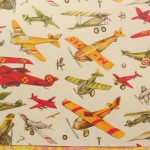
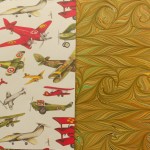
And, of course, I had to play with a bunch of paper. First are some illustrations from a severely water-damaged book of Arthurian legends.
-
- Lightly marbled illustrations
-
- Lady Lyonnesse & Sir Gareth
-
- Arthurian beauties
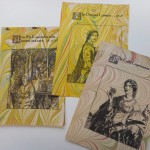
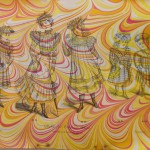
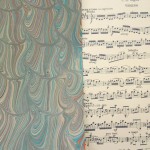
Then some illustrations from a fashion magazine from 1898. I find the children’s clothing fascinating. To imagine a six-year old wearing a dress with a train every day is really difficult for me as are the wasp waists on the adults!
-
- Illustrations from 1898 fashion magazine
-
- Outdoor wear for children
-
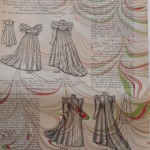
- A girl’s formal & everyday dresses
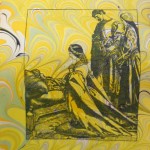
Lastly, I found a pile of sketches my mother had done of tulips but had never really finished. Had to marble them, of course and so ended up with some spring after all. Think I’ll keep and frame the yellow one.
-
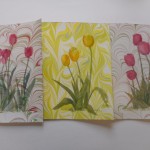
- Art by Jane Terry, Marbling by Nancy Langford
-
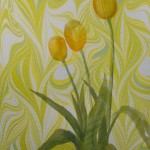
- Yellow Tulips, marbled
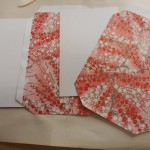
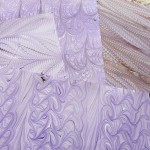
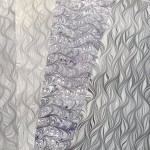
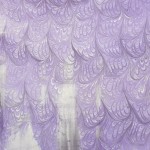
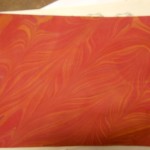
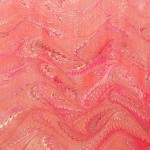
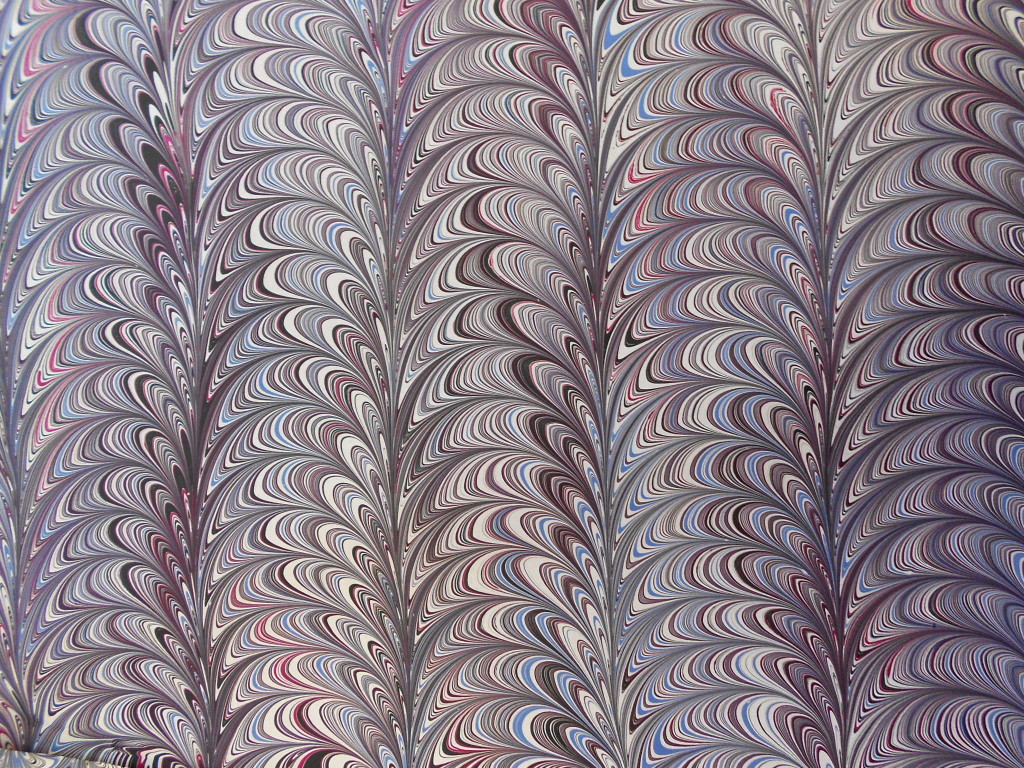
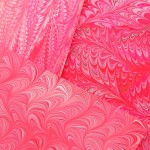
One the last three sets of photos, I dropped about half as much paint as usual, used a lot of white, added some clear and made a loose, lacy pattern. I think that combination worked well. What do you think? I may try this technique when I start marbling maps again.
Don’t forget, marbling workshop coming up. You can register by calling the Arts Center of Yates County at 315-536-8226 or contact them through their website, http://artscenteryatescounty.org/
Happy Spring and Happy Marbling!
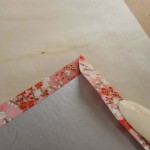
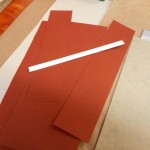
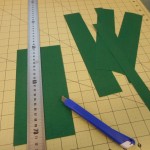
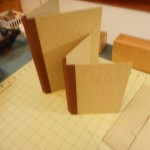
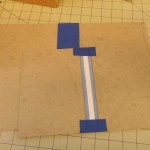
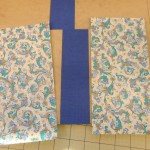

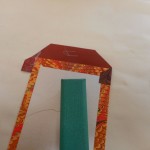
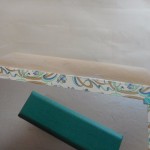
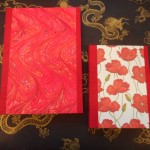
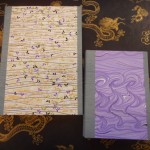
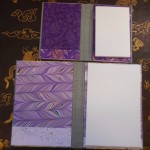
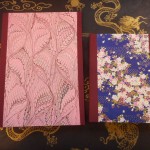

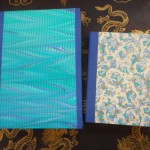
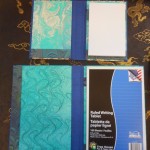
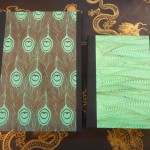
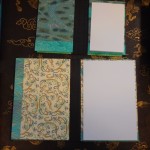


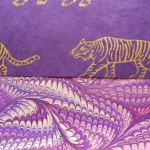
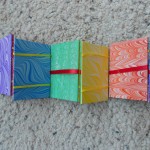
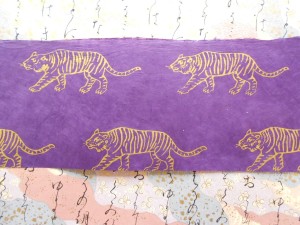 It’s a long, narrow piece and I was thinking about making a very small book with just one or two tigers on the cover. As soon as I started to think about size, I realized it would never work. Even a small book needs at least 1/2 inch turn-in on both top and bottom. This is what the cover would look like after a normal 3/4 inch turn-in.
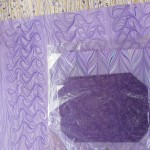
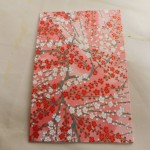
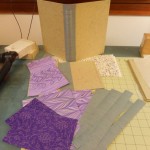
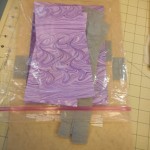
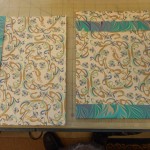
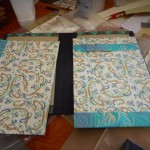
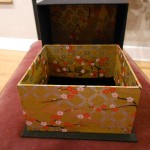
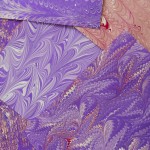
 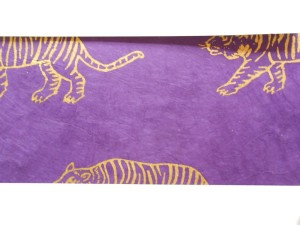 Not really what I wanted. I can use it for endpapers, so I revamped my thinking and started looking for paper to use as covers. I found a piece of my marbled paper that goes quite well with the purple, so even though it’s not at all what I’d planned, I’m happy with the combination.


