It’s Labor Day and summer is over. My black walnuts are beginning to drop their leaves. They are always the last to leaf out and the first to fall. My summer was busier than usual with a bit of Folk School, a bit of family a bit of garden, a bit of travel, and too much teeth. I’ve been composing blogs in my head all summer, but never quite enough time or energy to actually write them out. This blog is really left over from last winter and spring.
As most know, last winter was too cold, too snowy and much too long. I had several special orders that kept me sane, especially through February. Special orders usually present challenges and learning opportunities, as they are never quite what I would choose to do if left on my own.
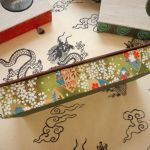
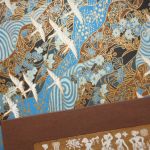
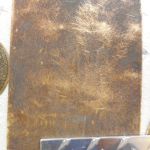
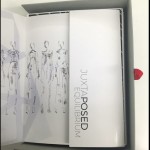
My first customer wanted a guest book in her wedding colors with a small metal plaque on the cover. After talking, well actually messaging, about it, she decided that a clamshell box made to fit the book with a matching insert on its cover would be perfect. We chatted some more about other wedding memorabilia she would have that might also fit in the box or that might be better in a matching portfolio. The first idea was to use the invitation as a frontispiece for the book, but it was the wrong size and orientation. The outcome of our discussions was that she sent me the selection of materials and mock-ups of items that hadn’t been printed, like the menu. As soon as I saw them, I knew what I had to do. It’s amazing how talking, and even sharing pictures, isn’t anything like having the stuff in your hands.
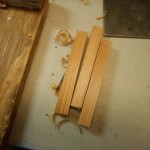
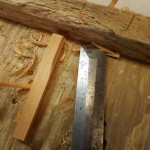
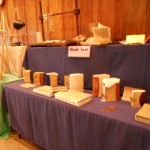
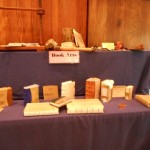
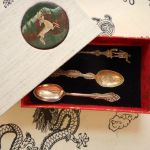
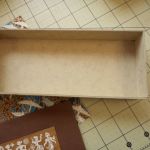
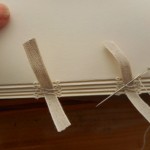
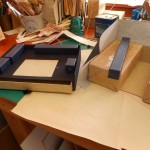
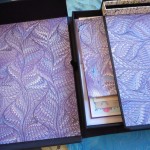
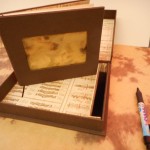
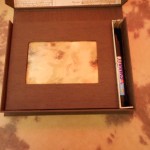
The answer was to put a drawer in the box under the book. Since the ephemera was slightly larger than the book, I was able to add a small box for a pen next to the book. I was very pleased with the result, especially since it has been years since I have built a box with a shelf or drawer. I had my trusty Library of Congress manual right at hand during the entire process. Lots of pictures:
-
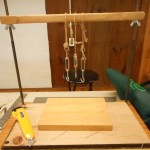
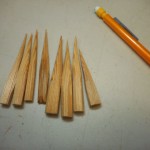
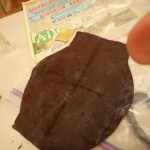
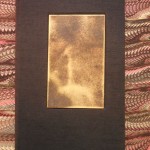
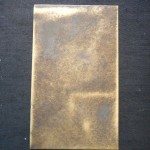
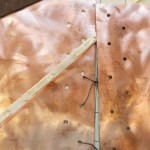
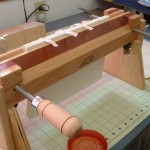
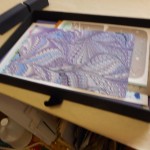
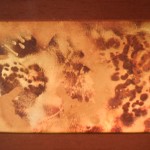
- Making the paper
-
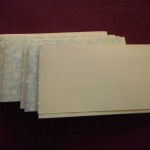
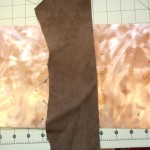
- Selecting the perfect sheet
-

- Selecting the perfect sheet
-

- Selecting the perfect sheet
-

- Selecting the perfect sheet
-

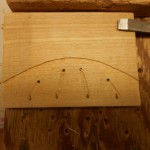
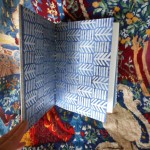
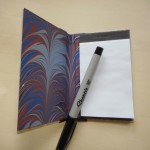
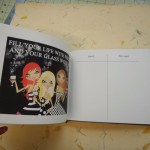
- Designing the pages
-

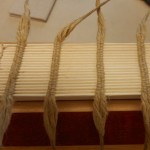
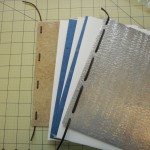
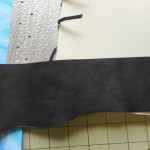
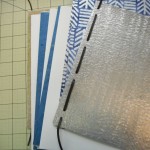
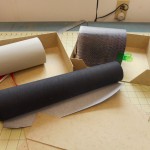
- Choosing bookcloth, navy or black?
-
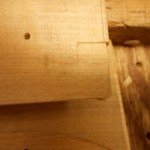
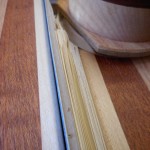
- Cutting the covers to fit insert
-
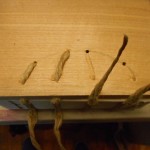
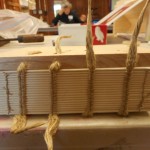
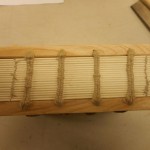
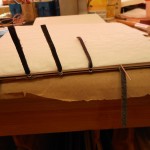
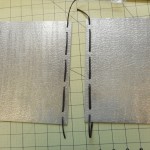
- Sewing the book
-
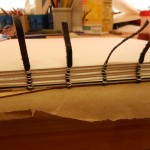
- Book ready to be cased
-
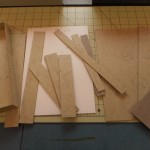
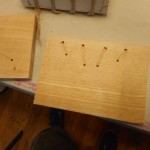
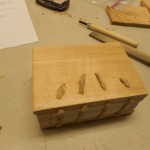
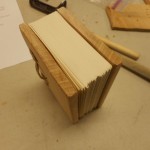
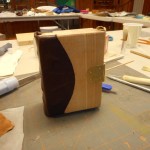
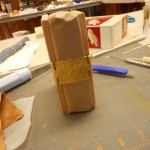
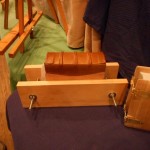
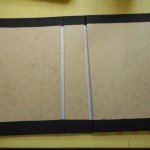
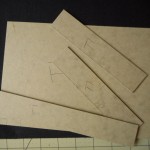
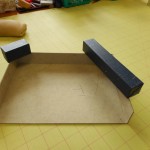
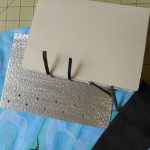
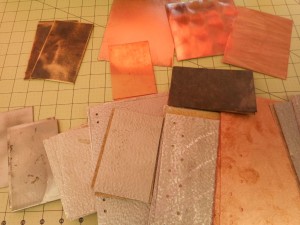
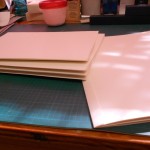
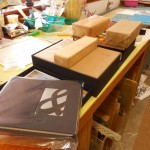
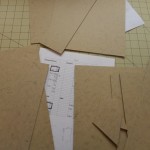
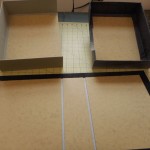
- All the pieces for the box
-
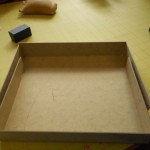
- Making the box
-
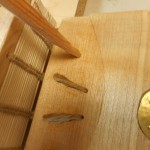
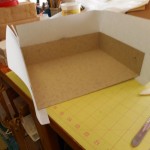
- Box with shelf, under construction
-
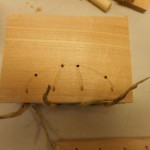
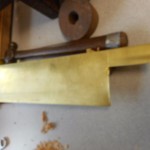
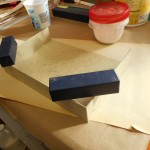
- Sizing the drawer
-
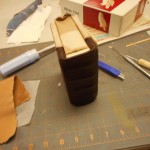
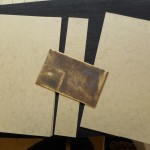
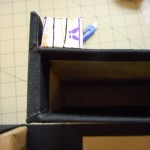
- Drawer
-
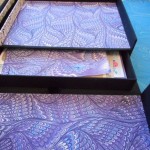
- Box with drawer open
-
- Another view of drawer
-
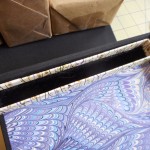
- Book and box under weights
-
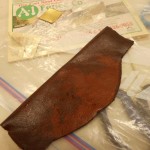
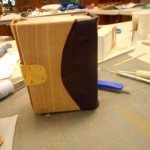
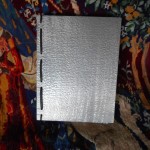
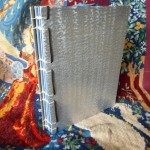
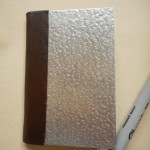
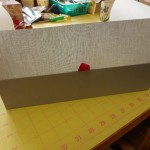
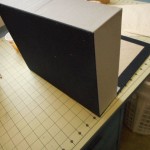
- Box, outside
-
- Pen holder
-
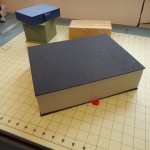
- Finished!
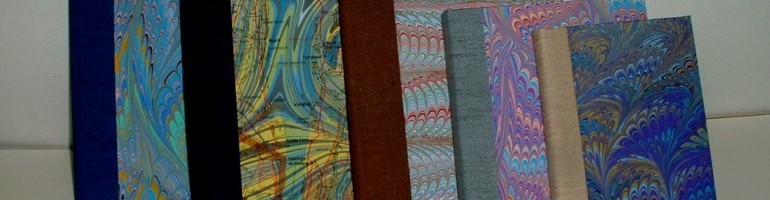
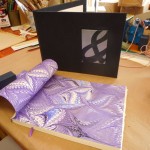
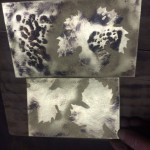
This was a long process since I had to make all the paper first. After the pieces for this project were used, I had a lot of purple paper to sell on Etsy. Fortunately, purple is popular! This customer was a delight to work with and there were many other custom touches to the book that are not shown.
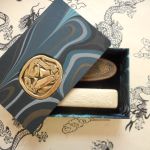
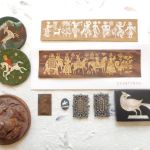
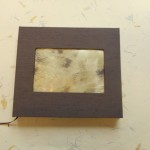
My next special order was challenging in a totally different way. A student was presenting her fashion portfolio her professors and wanted a clamshell box that reflected her vision and her creations. Working to complement someone else’s artistic creativity is not easy. To make matters worse, she was working under a tight deadline. Sending actual samples of papers or materials back and forth was out of the question, so we took to messaging images and descriptions back and forth, sometimes five or six times a day. Of course colors vary according to cameras or monitors. Fortunately, her palette was black, white, gray and a bit of red. I don’t know what I would have done if it had been green! I’m never able to get a good match for greens with my camera and monitor. The actual construction was straight-forward, but all the decisions leading up to it were hair-pulling at times. It was fun working with another artist and we were both pleased with the final result.
-
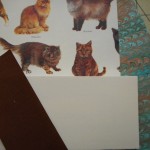
- Inspiration for collection
-

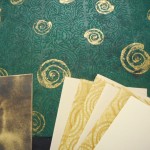
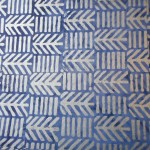
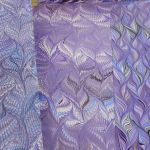
- Choosing paper
-
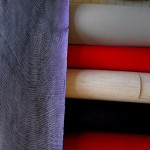
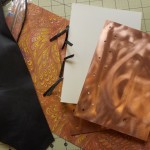
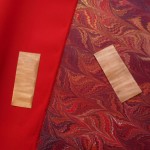
- Choosing bookcloth
-
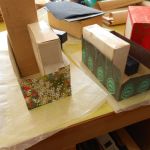
- All the pieces
-
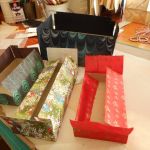
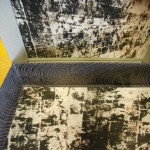
- Ready to start covering trays
-
- Inside tray
-
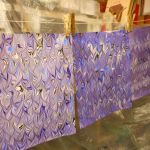
- A bit of red
-
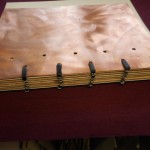
- Trays ready to be cased
-
- Almost there
-
- Lined with photographs
-
- Finished box
-
- Fashion Portfolio in my box
Her portfolio was selected to be submitted to a competition! I hope my box helped.
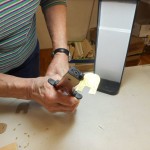
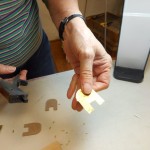
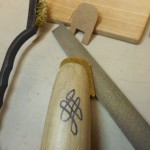
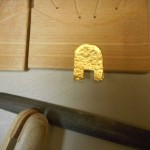
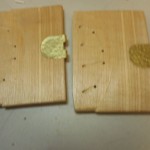
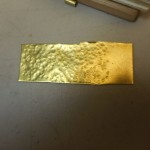
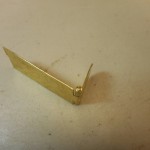
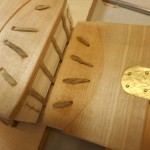
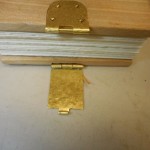
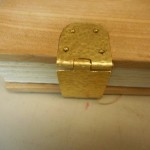
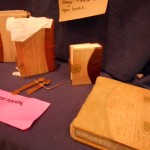
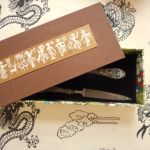
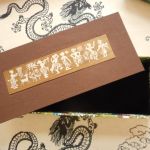
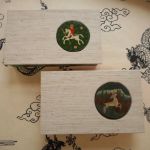
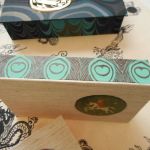
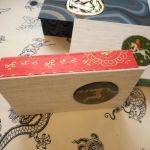
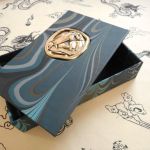
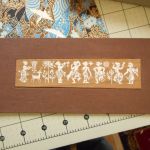
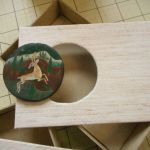
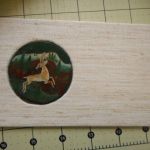
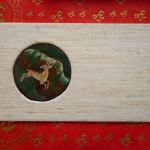
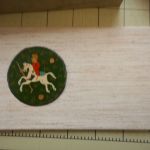
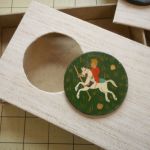
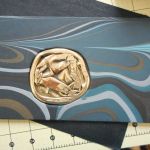
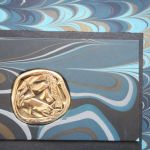
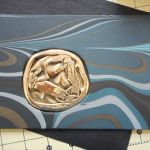
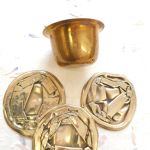
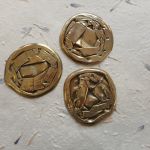
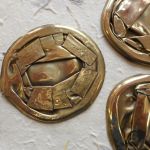
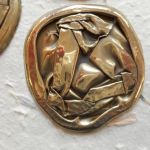
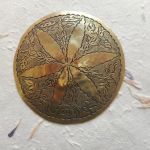
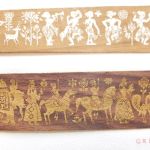
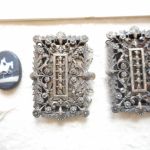
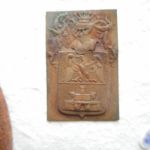
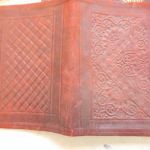
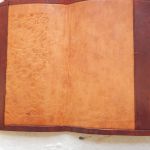
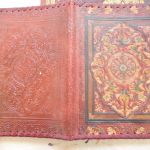
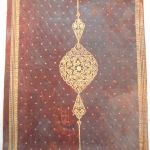
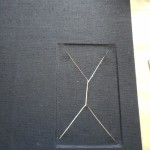
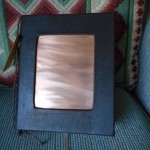
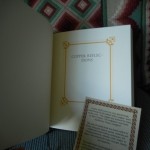
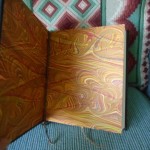
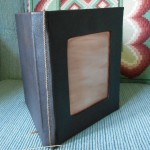
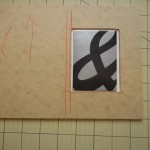
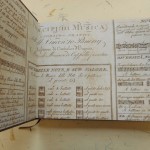
The last box was the most fun. I was working with friends for a surprise for another friend, best of all worlds. Everyone was nearby so we could all see the materials and the process and no second guessing. The gift was being made to someone who was retiring from the board of a local non-profit. She had been instrumental in the creation, organization and managing a concert series in local venues. She is also very active in local winery and grape growing organizations, so music, grapes and wines were the themes. It was decided that a boxed guest book would be the perfect gift. I’ve been working with metal artist Sam Castner a lot recently and he was delighted to be able to help another good friend celebrate. He created two stunning brass plaques for the book and box. I was inspired by his work and had fun choosing just the right materials for the set. Taking a note from the wedding box I had made previously, I left room for a pen in this box and the Board added a hand-crafted pen by a local woodworker. Unfortunately, I don’t have a picture of the pen.
-
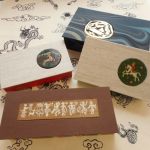
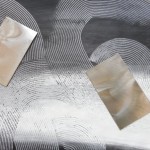
- Black & white image of the plaques
-
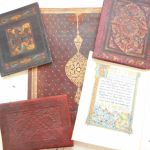
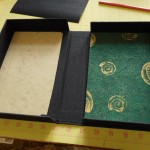
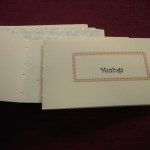
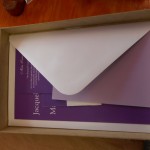
- Book
-
- Enpapers
-
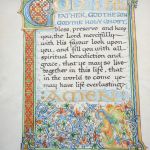
- Inside page with illustration
-
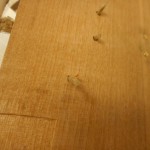
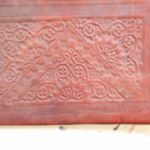
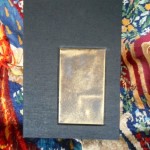
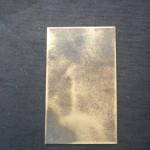
- Off-color close-up
-
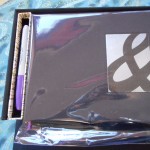
- Book & box
-
- Book & box
-
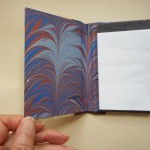
- Another illustration
Unfortunately, for my best box set, the photos are the worst, especially on the true colors. Since everyone could see the work in progress, I didn’t have to send photos and hence don’t have a good record. I need to remember this and take lots of photos when I work on anything really special.
I hope to get my next blog up soon. It’s all in my head! I also have new pictures to update my How to Marble blog.
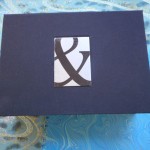
If you are interested in working with me on a special box or book or set, leave a comment here or contact me on Etsy, Losing Her Marbles.