In a previous blog, I talked about the marbling workshop on April 22nd. It was a great success and I was pleased to have participants so excited about marbling. In fact, everyone came back for an Open Studio session. In spite of being able to produce a sheet of marbled paper in a 15 minute “make it and take it”, marbling really does take a few days to begin to be in control. I love it when people enjoy something enough to be willing to put more time into learning the craft. I also enjoy the Open Studio idea, where I can work with people without a formal structure. What follows is a lot of photos and brief comments on the workshop. Photos are thanks to Julia Hardy, who became my assistant for this class.
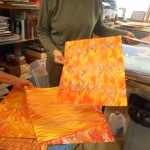
In the few days before the workshop, I stumbled through a bit of a nightmare of logistics. In the space of three days, the class went from six participants to five to four, up to six again and then back to four. Workshops are not like lectures where you can just add a couple of extra chairs. Marbling stations have to be set up with tools, paint, trays and carrageenan. Space is tight in my studio and six participants, plus a demonstration table for me was an interesting problem in spatial design. I had everything set up for six, when I heard there would only be four. This was just the day before the class and too late to unmake the paints or size. Plenty of supplies for the following week of marbling!
-
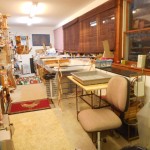
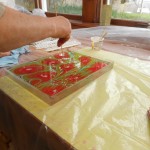
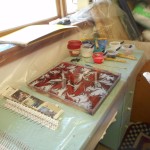
- The Studio, the night before
-
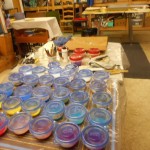
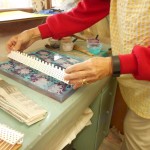
- Paints at the ready
-
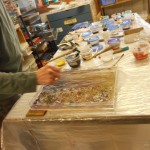
- Throwing stones with the whisk
-
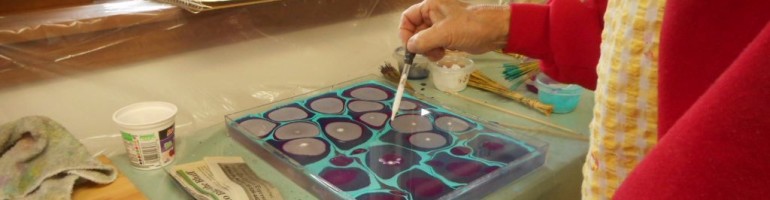
- Get-gel with a stylus
-
- Get-gel with a stylus
-
- Get-gel with a stylus
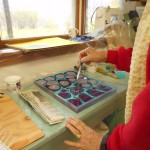
In marbling, there are always alternative ways of doing most everything. I started by demonstrating how to put paint on the carrageenan size with a whisk and by using an eyedropper. Just to confuse everyone, I also showed how to make the get-gel pattern with a stylus and then with rakes. Each type of pattern was printed for reference. The class went right to work, preparing the paper, throwing paint, creating marbled patterns and printing them.
-

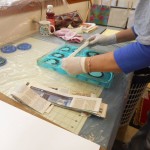
- Alumming paper
-
- Alumming paper
-
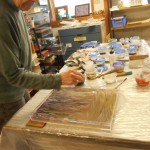
- Dropping paint
-
- Dropping paint
-
- Dropping paint
-
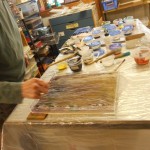
- Creating the pattern
-
- Creating the pattern
-
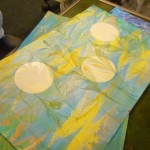
- Finished pattern
-
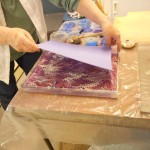
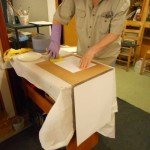
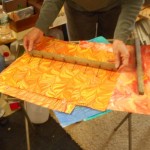
- Laying down the paper
-
- Washing
-
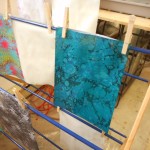
- Drying
-
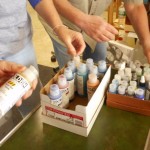
- Choosing new paint
-
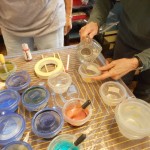
- Mixing paint
-
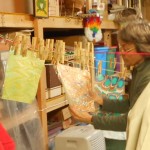
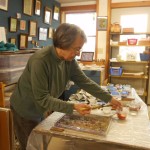
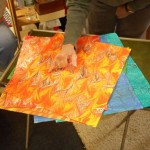
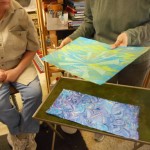
- Examining marbled papers
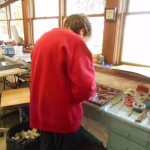
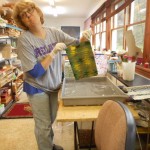
Before breaking for lunch, we examined all the wonderful paper that was drying, seeing what worked and where there were problems. I was very pleased with what was accomplished in just a few hours. By the end of the day, great papers were being produced.
-
- Same colors, varied patterns
-
- Explaining patterns
-
- Explaining patterns
-
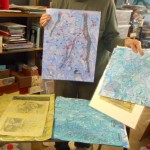
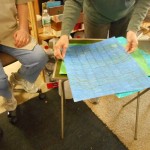
- Maps and printed materials
-
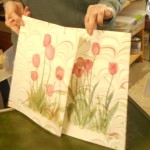
- Marbling over watercolor paintings
-
- Overmarbling & masking
-
- Overmarbling
By mid-afternoon we needed a break and looked at different types of patterns, overmarbling and marbling on printed paper. I hope the students were inspired to keep thinking about new ways to look at marbling.
Great class, fun time, all supervised by my assistant, Lucy.
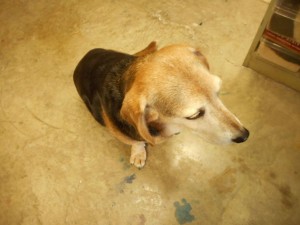
Lucy, marbling supervisor
Saturday and Sunday were Open Studio days and I marbled along with the students. Since then, I’ve been trying to use up as much of the paint and carrageenan as possible and have been playing as well as cleaning up. I can’t believe how long that takes! My studio is slowly transforming itself back into a book workshop and my marbling space is getting back into its usual configuration. I’ve already heard from people that want me to have another workshop, maybe in July or August if my supervisor approves.
Thanks for all the great tips and tricks I’m learning here! I really appreciate it.
I was wondering a few things. With the golden fluid acrylic, what’s your ratio of water to paint? Also, being in the south we have lots of humidity and the Carrageenan just is not standing up to it. What are your feelings about using Methyl Cellulose instead?
Thank you!
You are quite welcome. I enjoy talking about marbling and sharing what is working for me. Glad you have enjoyed reading about it.
I’m very casual about the ratio of paint to water and go more by “feel” than exact measurements. Some things to keep in mind:
1. Start with very small amounts of paint. It’s much easier to correct and balance.
2. Different colors will need different amounts of thinning. Yellows & reds need less than blues and purples.
3. Trial and error is good. If a color doesn’t spread add a few drops of water, if that doesn’t help, add one drop of Flow Release.
4. Make corrections right away, don’t wait for the next tray.
5. I find balancing colors much easier when I’m using a dropper rather than a whisk. Easier to see the spread or dropout. After the colors are balanced, then I use either a whisk or a dropper to finish.
6. It’s easier to thin paint than to thicken it. So start with small amounts of water to thin and add as needed. With yellows I add only 1/4 to 1/3 water to 3/4 to 2/3 paint, with most blues, close to half & half, with ultramarines, maybe even more than 1/2.
7. Know your paints. Some colors – metallics, ultramarines, Paynes gray – tend to “sludge” in the bottom of the container. These need to be stirred and even ground regularly to keep the pigment in an even suspension.
8. Marbling is a matter of drops, not huge amounts or even splashes so make any changes and corrections literally drop by drop.
Carrageenan does not like hot weather and doesn’t last as long when it’s hot. When you begin to get a strong seaweed odor, it’s on its last legs. One solution is to make small batches and refrigerate any that isn’t being used. It’s a pain, but if you can refrigerate your tray overnight or empty it into an container, that would prolong the life. Even in hot weather, it should last for a couple of days, but I have had some that broke down completely by the third day and my weather is generally mild. I’ve never marbled with MethylCel, so I can’t answer your question on that. I’ve used it in bookbinding applications and I know it does last for a long time and I have never had it deteriorate. Usually I just find it has dried out after not being used for a couples of months!
Hope this is useful.
Nancy
Love all the info you have given about marbling – especially about problems.😫 my biggest problem at the moment is “cracked paint” on my carrageenan mix.
So I know its not an alum issue. Most closely resembles your “paint breakup” pictures. Using Golden Fluid Acrylics. Any recent insights?
Cant seem to include a picture here.
Carol,
Thanks for your question. Unfortunately I don’t have any insights into what causes the “cracking”. Some colors seem to be prone to it, but I don’t have enough of a scientific bent to investigate it by keeping a journal or do rigorous testing. My hunch is that it is caused by the pigments in the paint coming out of suspension. Stirring a lot seems to help sometimes, but it’s not foolproof. I usually just move on to another color or try to use the cracking as a “feature”, not a “bug”.
Happy Marbling,
Nancy
hello, I usually marble the traditional way with pigments but want to try it with Acrylic paints. Are there any paper types that you do not need to pre-treat with alum when marbling?
I always use alum, so I can’t say positively if any papers don’t need it. I have marbled some old paper from the 1950’s and 60’s that seem not to need as much alum. I suspect it is because of the high acid content of the paper but I have not done a chemical analysis. I’m sure someone who knows more about the chemistry of marbling than I do, could answer your question.
Nancy