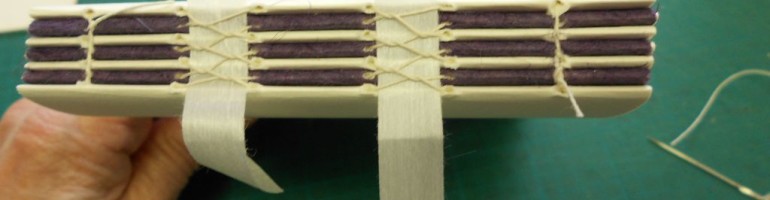
There are many ways of sewing text blocks for bound and cased books. In fact there may be hundreds. Linda Blaser wrote an article once documenting the styles she had encountered in her career as a book conservator. I once had a copy, but can’t find it and haven’t been able to track it down. The method I usually use twists the thread over the tapes rather than leaving it flat. The benefit of this is that the gatherings are pulled tighter together. This is important for me since I don’t have a proper book press for gluing out the spine, so the extra compression is important. The problem is that it creates more bulk on the spine which can be unsightly, especially if you are binding with leather. If I am doing a large book that needs three or more tapes, I sometimes alternate the twist with a flat thread. I had planned to do it on the larger books as a demonstration, but once I started sewing, I forgot!
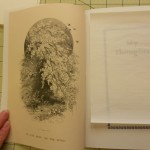
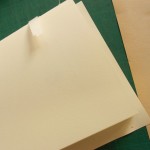
On my four current books, the first thing I had to do was to tip in the frontispieces on the two larger books. I first trimmed the illustrations to the size of my pages plus about 1/4″ for a tab. The frontis was placed in position and the tab was very gently – I’m dealing with paper that’s about 150 years old – folded around the first gathering. Using PVA as the adhesive, it was then glued to the back of the section. The only glue was on the tab, not on the engraving itself. By the way, I tend to use the terms glue, paste and adhere interchangeably although technically they are different. I only use a reversible PVA in my books. Well, occasionally I use paste, especially with leather, but that’s a whole ‘nother thing.
Adding the frontispieces.
-

- Frontispiece trimmed to size and placed in book
-
- Frontispiece trimmed to size and placed in book
-
- Tab from frontispiece glued to back of section
I’ve tried to photograph the entire process of sewing the textblock with descriptive titles from punching holes to finished sewing. I don’t use a cradle for punching as I find them cumbersome and my books are usually only five section books. These four happen to be a bit larger, but still only have seven sections. For the same reason, I don’t use a sewing frame, plus my books tend to be different heights.
-
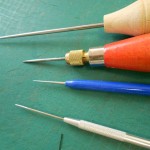
- Various size awls and punches
-
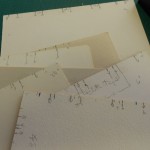
- My stash of templates
-
- Ready to punch
-
- Punching sewing holes
-
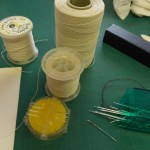
- Supplies for sewing
-
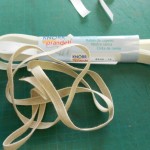
- Line and Ramie tapes
-
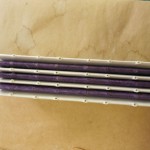
- Spine edges with holes punched
-
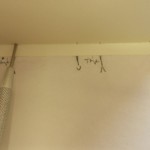
- Measuring the tape
-
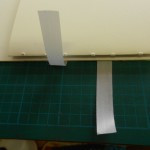
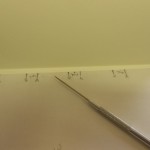
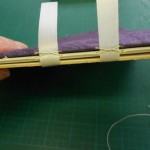
- Ramie tapes taped to the underside of template
-
- First row of stitching
-
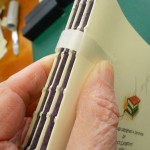
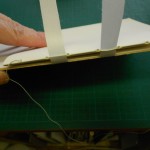
- Second row, showing twist over tapes
-

- Sewing finished
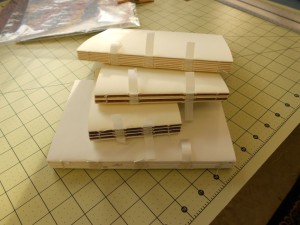
All four text blocks.
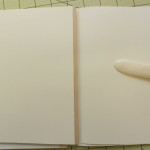
 Next I tipped in the endpapers and trimmed them to size. An extra 1/4″ is left along the inside fore edge of both endpapers. This is folded under and glued to the first and last pages of the textblock.
-
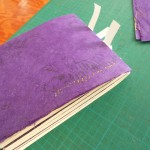
- Endpapers are tipped in along the spine edge
-
- Endpapers ready to be trimmed
-
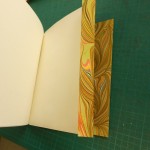
- Endpapers showing the tab that is glued to first and last pages of textblock
-
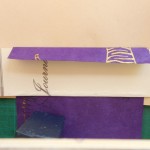
- Endpaper tab ready for PVA
Now it’s on to preparing the spine and covers.
You can see more of how I make my books on previous pages. Design, Frontispieces, Sewing.
The website above is a link to a site that displays some of the endpapers you mnetioned I wrote about awhile ago. There is also a reference on this link to the full article. Thanks for mentioning me. Linda Blaser
Linda,
Thanks for the current information. I’m sure you don’t remember, but I took several courses from you at the Smithsonian a long time ago – probably in the early 1990’s. Since I’ve retired, I’ve spent a lot of time playing with books and paper, all thanks to you who gave me my start!! So, I could say it’s your fault. ;->
Nancy
I am so pleased to hear about former students, like you, who have continued binding books and contributing to the field. I enjoyed reading this web page and will look forward to reading more.