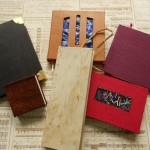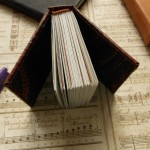
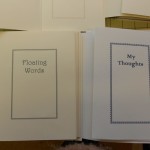
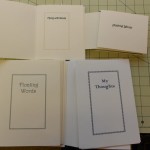
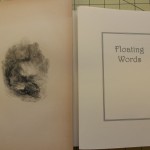
Before the Industrial Revolution, most books were made by sewing the pages or textblock directly onto the covers, which were usually made of wood and then covered with leather or fabric. Binding books in this manner was always done by hand, one book at a time. With advances in printing, faster ways of covering the pages had to be invented. The answer was the case-bound book. A cased book is made in two parts, the textblock and the case. These two are then joined together in different ways. Almost all modern books, including those with leather covers, are case-bound. To the purist, they shouldn’t be referred to as “bound” at all. I have made a few bound books, but almost all of mine are actually cased.
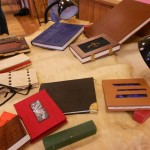
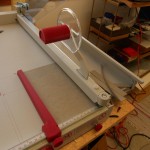
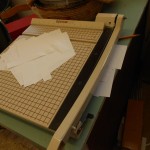
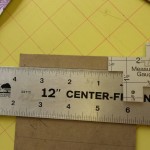
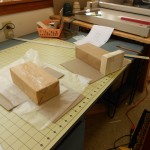
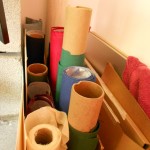
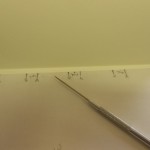
So on to how to do it. I use Davey Board for my covers and it comes in large sheets, 30″ x 40″ so the first step is to cut it into usable sizes. The arrows on the board indicate the direction of the grain. I mark the sheet before cutting when it is easy to determine the grain. As the pieces are cut smaller and smaller, it is harder. The grain of the board must always be parallel to the spine of the book. If the grain is crosswise, it can warp and pull against the joints, breaking them. I have three cutters in my studio. The grey fancy one (Ideal) is wonderful for cutting lots of paper to exactly the same size. I do use it with light-weight board, but I probably shouldn’t. The tan cutter (Boston) doesn’t have a guard so I can use it to cut the big sheets. It’s just large enough that I can cut halfway down the sheet, flip it and cut the other half.
-
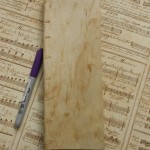
- Davey Board marked with direction of grain
-
- Paper and board cutter
-
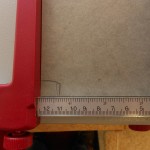
- Cutter for large sheets
-
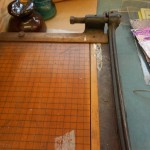
- Very old – 1940’s cutter for small work
-
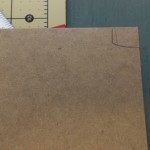
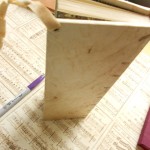
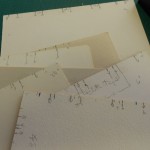
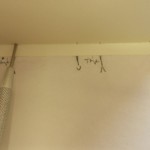
- Square corner marked
-
- Square corner positioned for cut
-
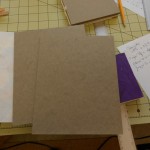
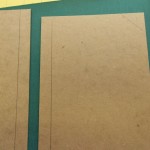
- Cut boards
-
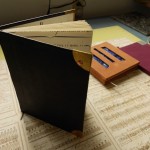
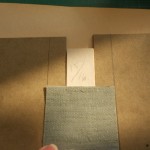
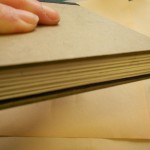
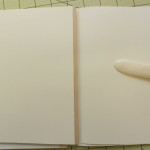
- Checking the fit of the boards
-
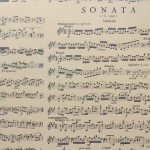
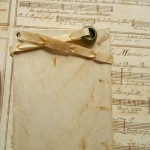
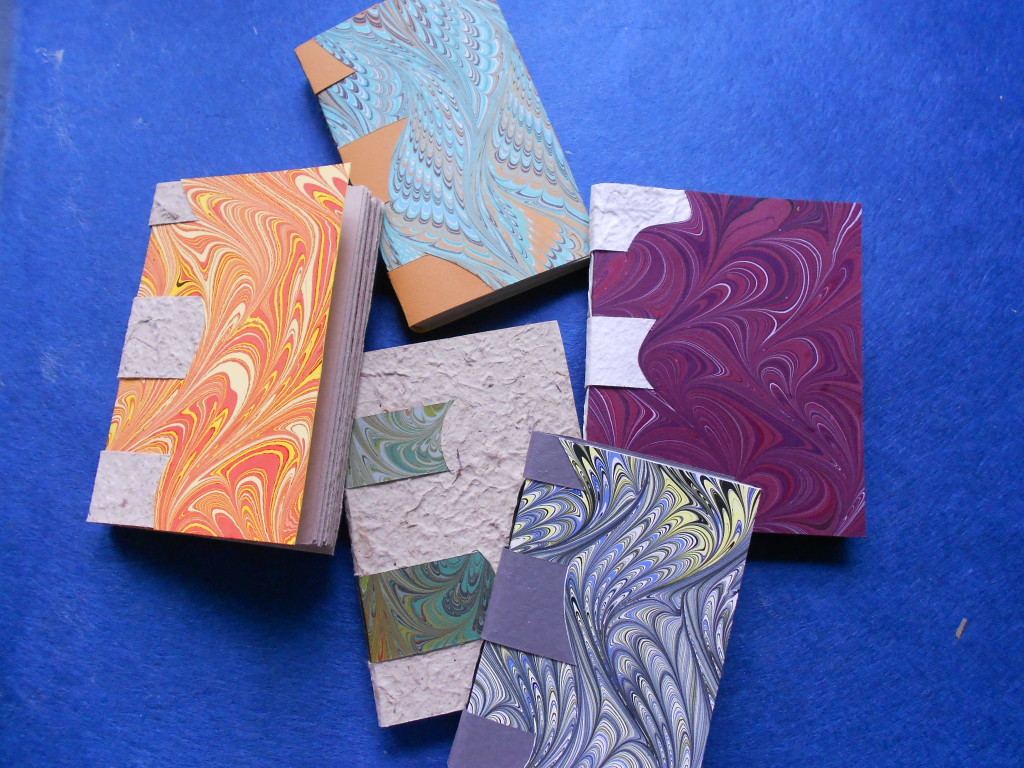
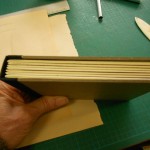
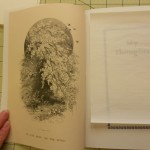
- Boards and textblock
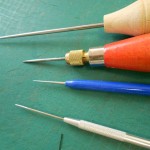
The first cuts I make are just rough cuts. If I need 71/2″ finished board, I’ll cut an 8″ strip. My last cutter is an ancient Milton Bradley school cutter, probably from the 1940s. It still makes a beautifully sharp cut that is perfectly square. It is also the only cutter I have that can cut very small pieces (1″ x 2″) accurately. Both of the other cutters have guards and edges that get in the way of making accurate small cuts. Before starting to cut, I measured the textblocks and since I am doing four books at the same time, write down the height and width of each. The boards should be cut the same width as the text and 1/4″ taller. After I have rough cut the boards, I make an exactly square cut on one corner and mark it. All other cuts will be measured from this corner. The marked corner is always placed against the guard of the cutter, even if this means flipping the board over. This solves the old problem of cutting one side after the other and finding you never have parallel sides. After cutting the boards, I check them against the text just to be sure. Yes, I have made complete covers with spine and paper added only to find the measurement was off and the text doesn’t fit. Of course, I could avoid this by making the books all the same size, but that would be boring.
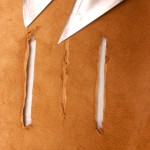
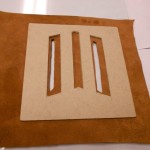
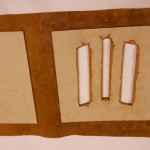
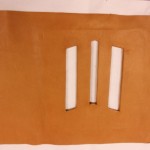
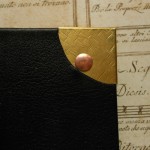
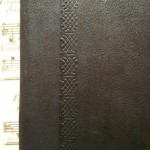
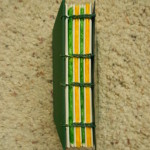
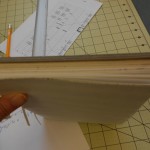
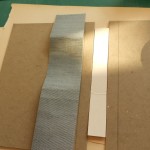
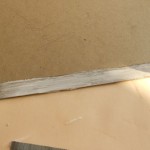
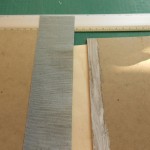
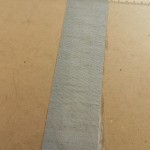
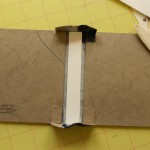
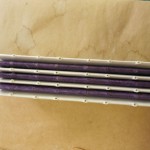
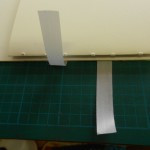
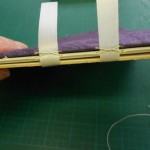
Spine stiffeners are cut from 2-ply museum board. They are the height of the case by the width of the textblock. Next step is to cut the bookcloth spine and attach it to the covers. Most of my books are quarter bound, but here I decided to add corners to one book making it half-bound. First I measure and mark off the depth on the spine overlap onto the boards. It depends on the size of the book, the pattern of the cover and my mood. Mine range from 1/2″ to 7/8″. I also marked the corners for the half-bound book. The spines are cut 1 1/2″ taller than the boards and the width of the edges plus the width of the textblock plus 1/2″. The spine is glued to each edge and the spine stiffener laid down in the center. There should be 1/4″ on each side of the stiffener, but for some reason these were a little tight. I must have been off on one of my measurements. Sometimes 1/16″ will do it. After the stiffener is glued down, the head and tail cloth is glued.
-
- Marking cloth edge
-
- Measuring spine cloth
-
- Marking corners for half bound
-
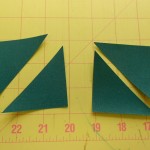
- Corners cut for half-bound
-
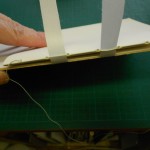
- Ready to glue spine
-
- PVA on board edge
-
- Gluing second board
-
- Front
-

- Spine stiffener glued in
-
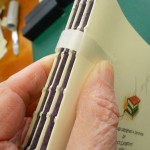
- Folding and gluing head and tail
-
- Checking square and fit
-
- Checking square and fit
-
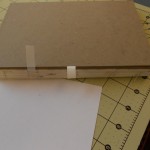
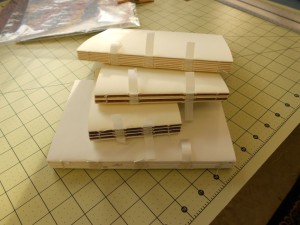
- Covers under weight
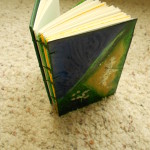
Next, it’s on to cutting and gluing the covers.

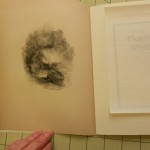

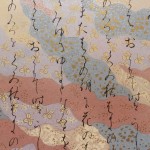
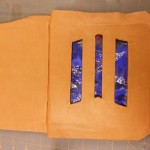
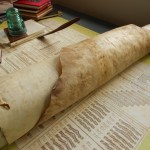
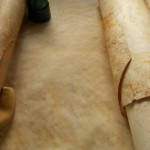
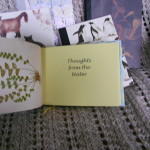
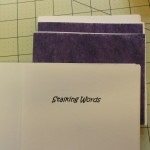
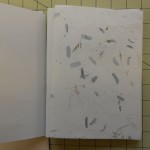
 Next I tipped in the endpapers and trimmed them to size. An extra 1/4″ is left along the inside fore edge of both endpapers. This is folded under and glued to the first and last pages of the textblock.
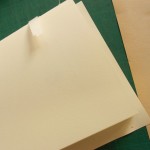
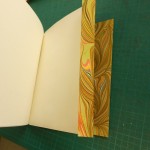
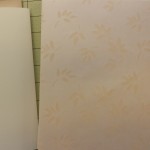

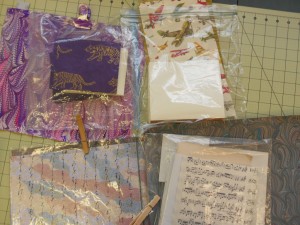
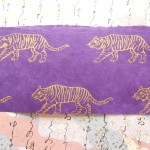
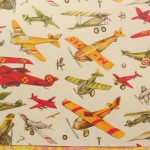
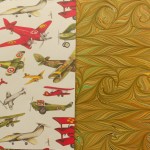
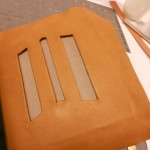
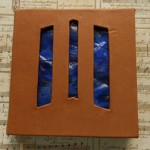
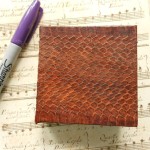
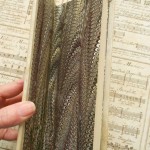
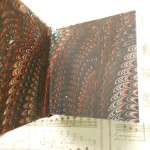
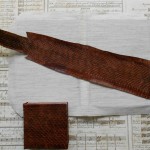
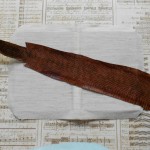
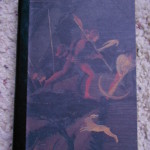
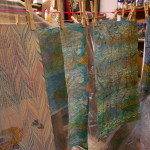
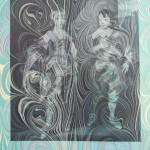
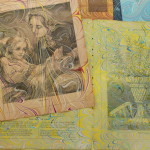
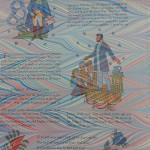
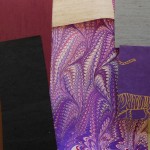
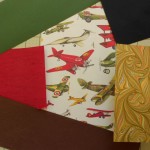
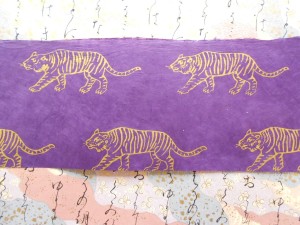 It’s a long, narrow piece and I was thinking about making a very small book with just one or two tigers on the cover. As soon as I started to think about size, I realized it would never work. Even a small book needs at least 1/2 inch turn-in on both top and bottom. This is what the cover would look like after a normal 3/4 inch turn-in.
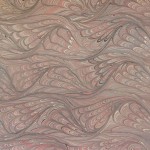
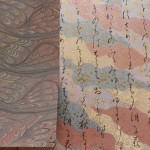
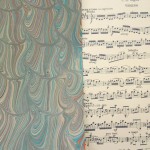
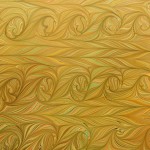
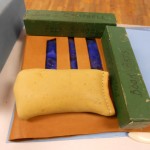
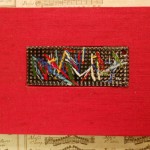
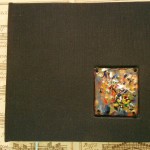
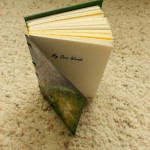
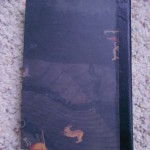
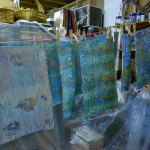
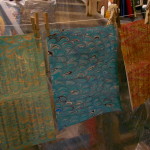
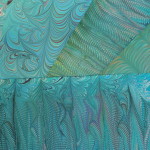
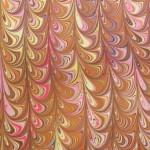
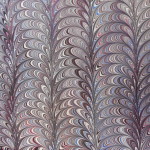
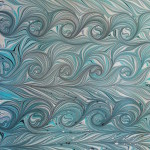
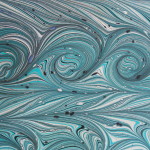
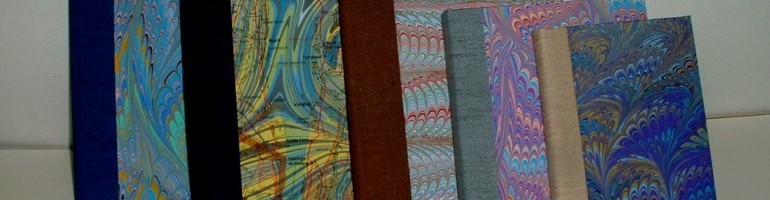
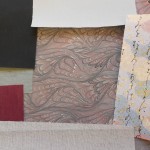
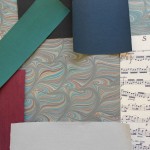
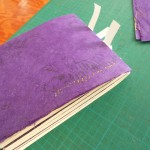
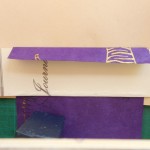
 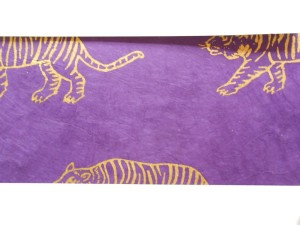 Not really what I wanted. I can use it for endpapers, so I revamped my thinking and started looking for paper to use as covers. I found a piece of my marbled paper that goes quite well with the purple, so even though it’s not at all what I’d planned, I’m happy with the combination.
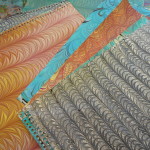
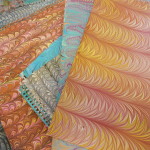
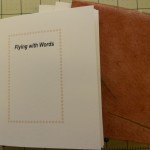